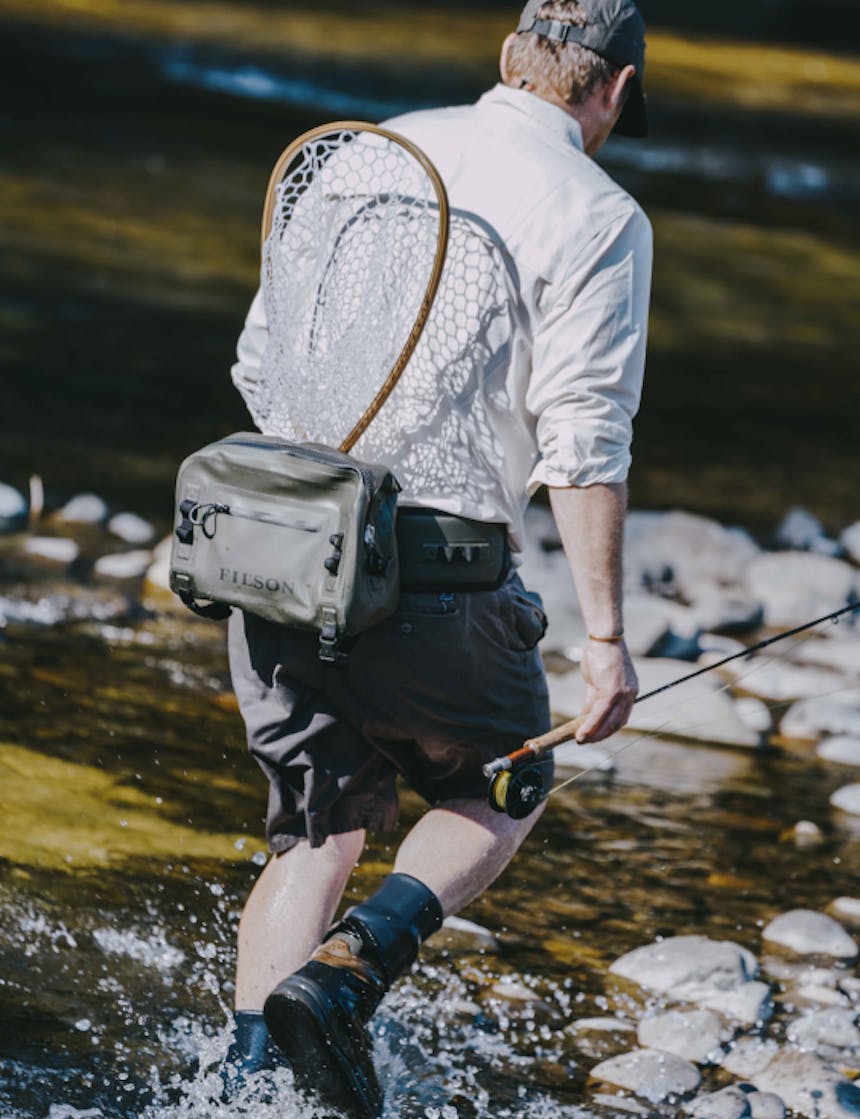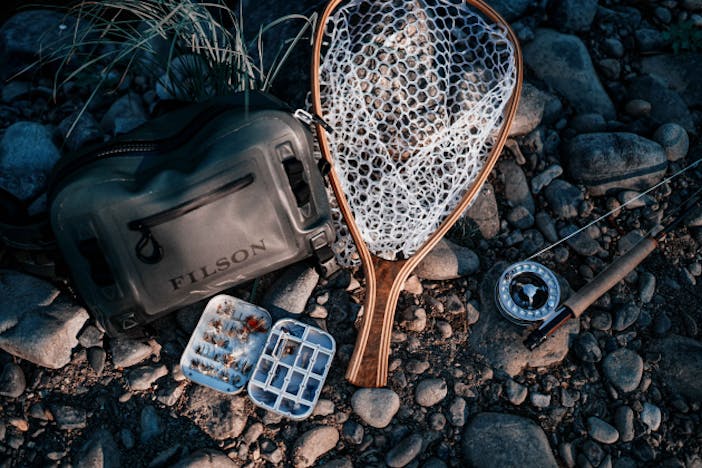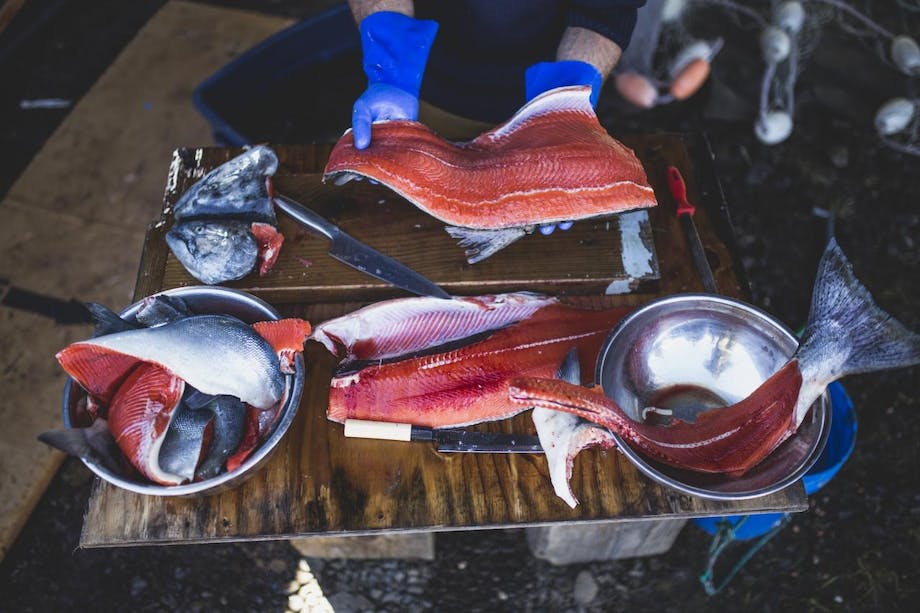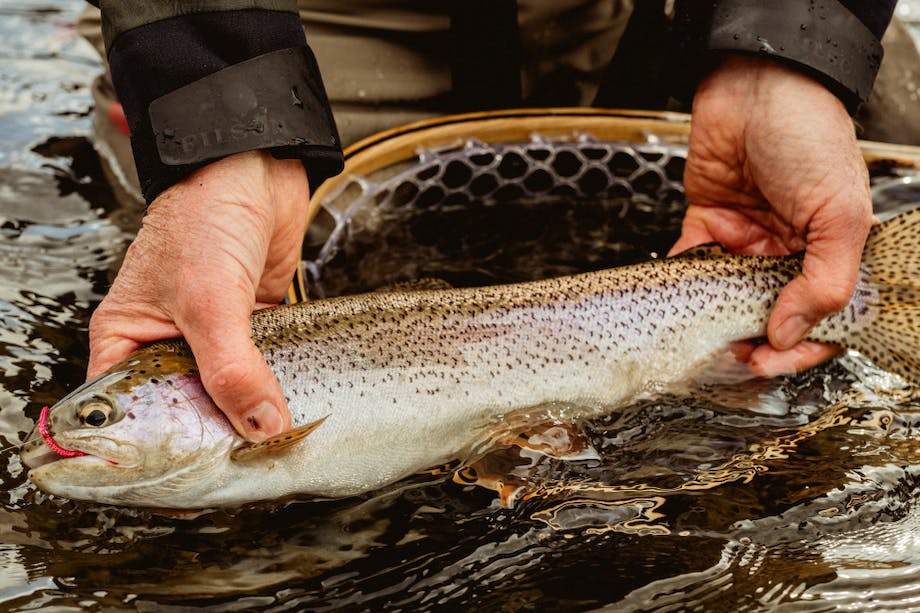
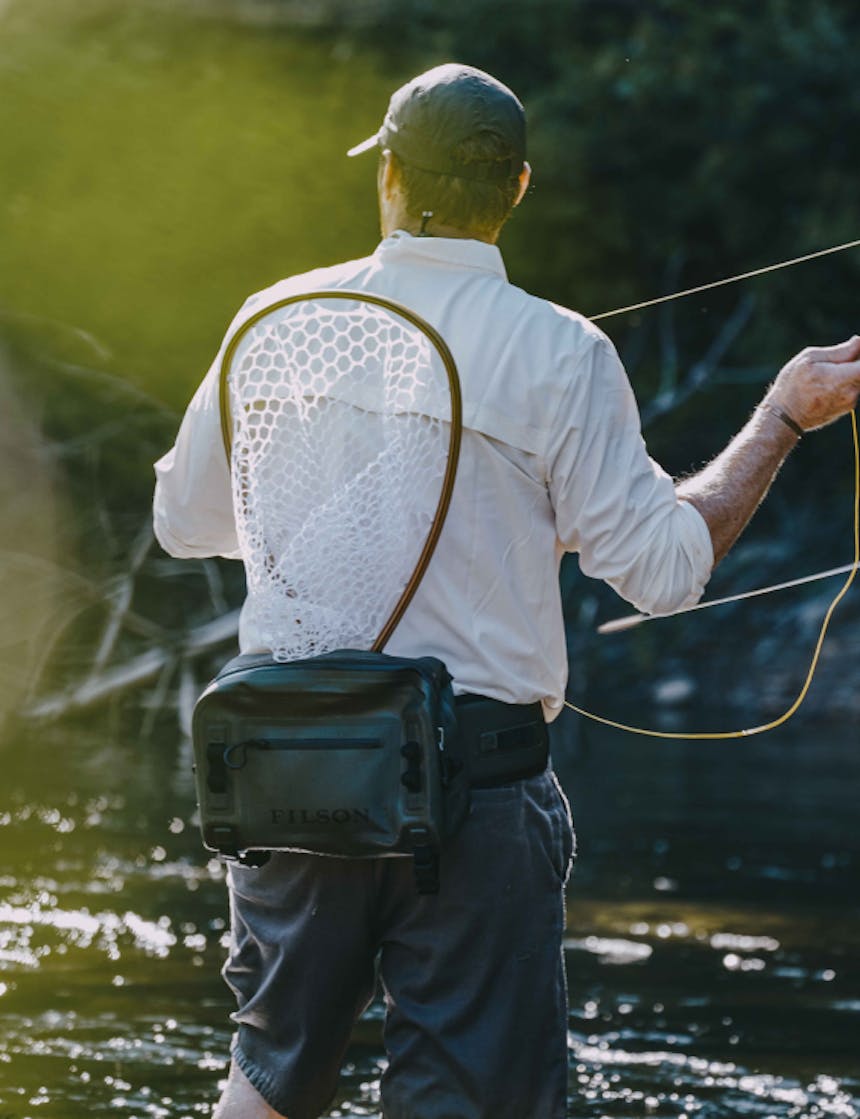
A wooden landing net is not only one of the angler’s best tools to ensure the swift catch—and, where necessary, release—of a fish, but also a durable part of the kit that can be passed down from generation to generation. Learn how to build your own with a complete set of instructions and diagrams from Woodcraft Seattle’s educator Jeff Marsden.
“I grew up in the country. In my younger days, my friends and I would be gone all day, wandering up and down the rivers. Mostly we just liked to be outside and away from our parents. We always took our fishing poles, though, and tried to catch brook trout to take home. What I caught always went to my grandmother, who loved brook trout and was especially glad of the treat.
Those happy days of wandering the rivers of my childhood are long gone. Life has moved me on to new places and experiences, and woodworking has become my passion now.
Recently, a friend asked if I could make him a net as he was going to take up fly fishing. The request brought back a flood of memories of those days spent with my friends fishing and river walking. I agreed to try, as I thought it would be a fun project that combines my first passion and my current one, fishing and woodworking.

The dip net is constructed using a bent lamination technique. I have used European beech and black walnut as they are both very flexible woods. A plywood form is made first. The strips of wood are coated with waterproof glue and bent around the form. They are clamped in place and the glue is allowed to dry and cure completely before the clamps are removed. Once the glue is completely dry, the strips of wood will maintain their shape.
what you’ll needed
Materials
2 strips (3/4” x 5/32” x 74”) walnut
3 strips (3/4” x 5/32 x 74”) beech
2 strips 3/4” plywood (24” x 30”)
1 – 3/4” x 4” x 9” Figured Walnut for Handle
Netting (silicone)
Black nylon twine
Waterproof glue
Paste wax
Daly’s SeaFin Waterproof Finish
Tools required
(Note: I made the dip net using stationary power tools, but it can just as easily be built using hand or hand-operated power tools)
Table saw bandsaw
Router table
Hand drill with a 3/32” drill bit
Jack plane
Belt sander tape measure
Blue painter’s masking tape
steps
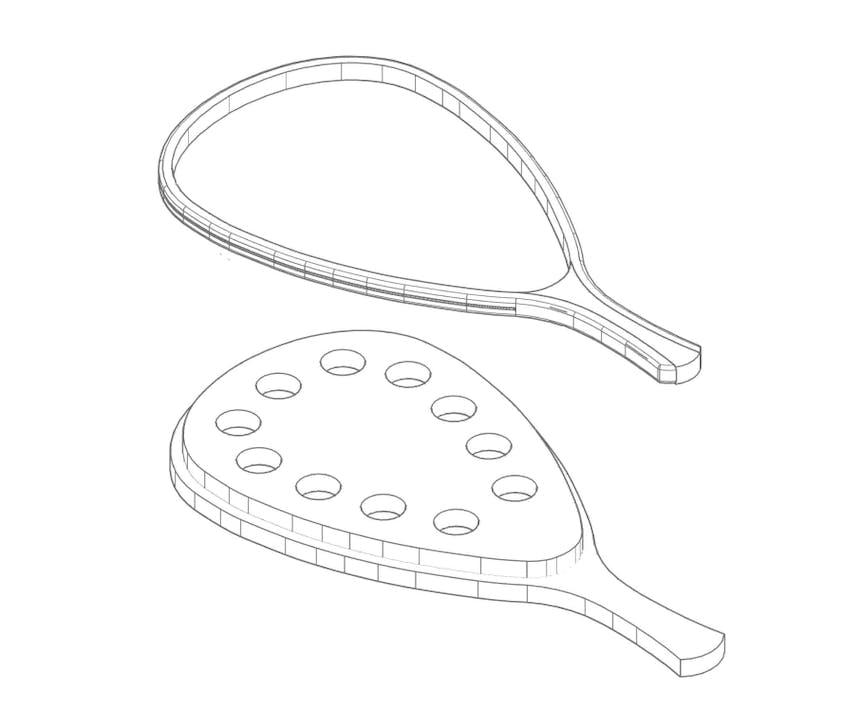
1. Glue the patterns for the forms (see downloadable plan above) to the two 3/4” pieces of plywood.
2. Using the bandsaw, cut out the shapes of the forms.
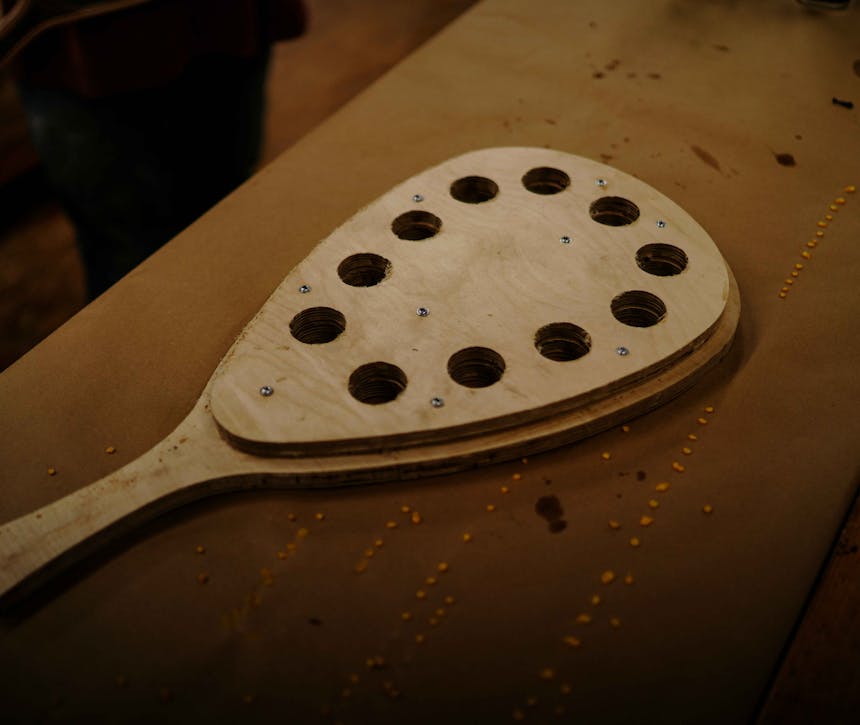
3. Using a 1-3/4” forstner bit, drill out the holes for the clamps.
4. Glue and screw the two parts of the form together. Use the drilled holes to align the two pieces.
5. From a board of beech, cut three 5/32” strips, and from a board of walnut, cut two 5/32” strips. It is always a good idea to cut more strips than you need to make the net. Sometimes the outer strips can crack during the bending and clamping, and you will appreciate having an extra one on hand.
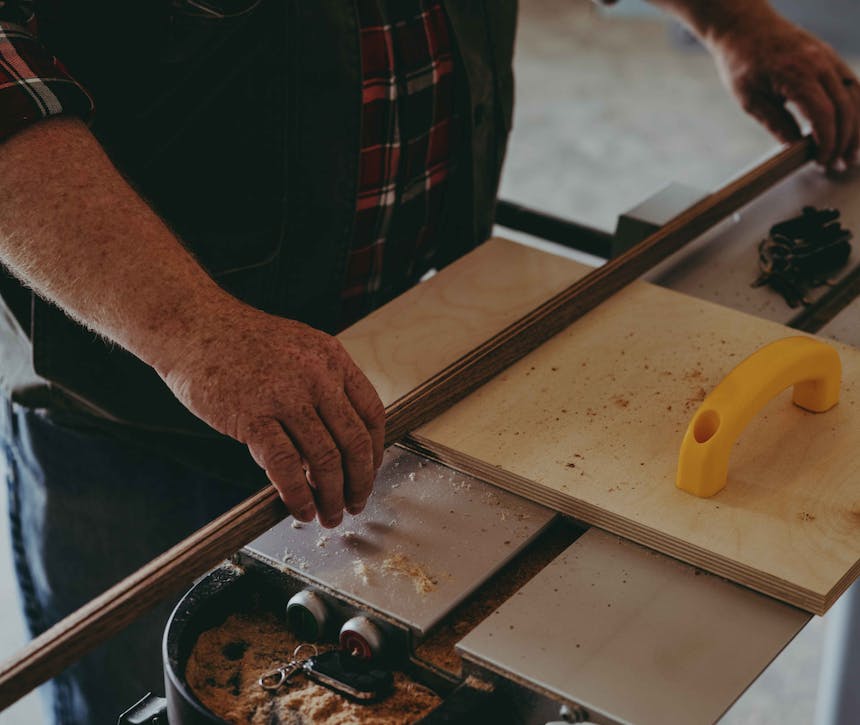
Cut out the Figured Walnut into the proper shape according to the designs and sand.
1 of 4
2 of 4
3 of 4
4 of 4
6. Generously rub wax onto the surface of the form that will come into contact with the glue. This will prevent the beech and walnut from becoming stuck to the form.
7. Lay out the strips side by side in an alternating color pattern on a flat surface. This should be a surface you do not mind getting covered in glue.
8. Apply glue to one side of each strip. For ease of application and speed, I use a small paint roller and tray (3/8” nap works really well).
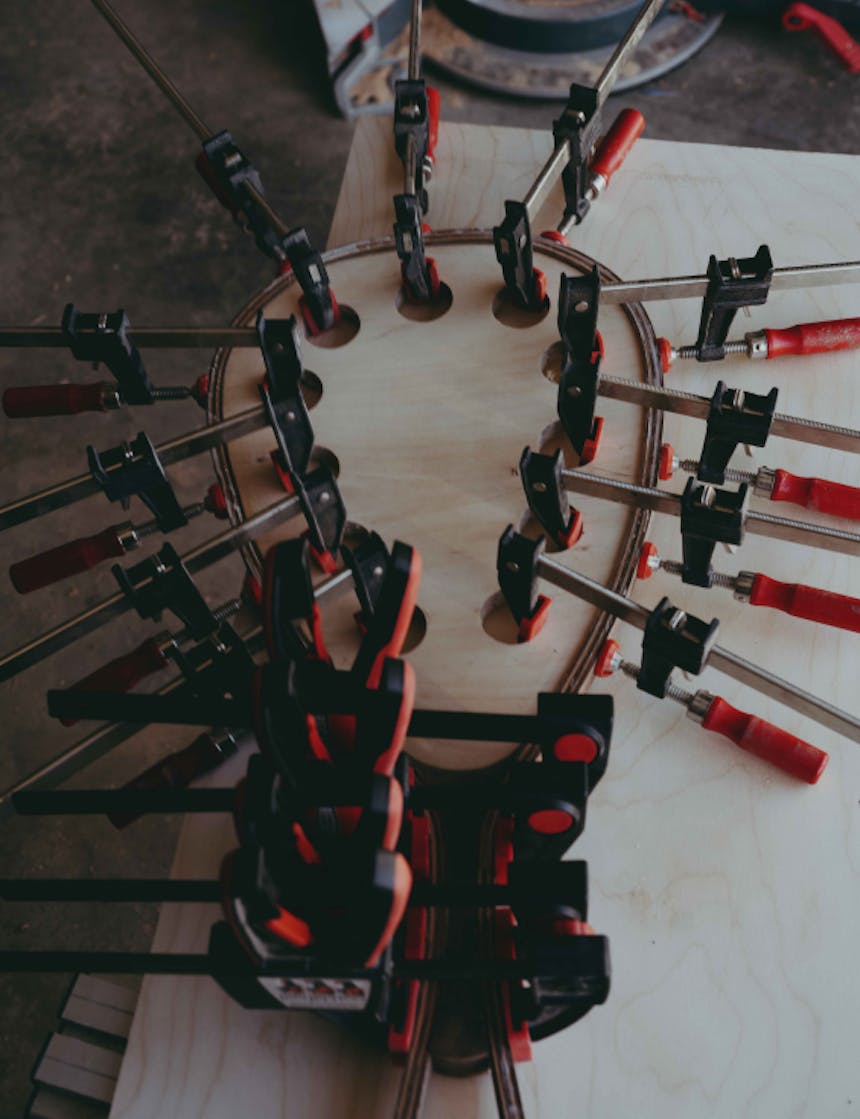
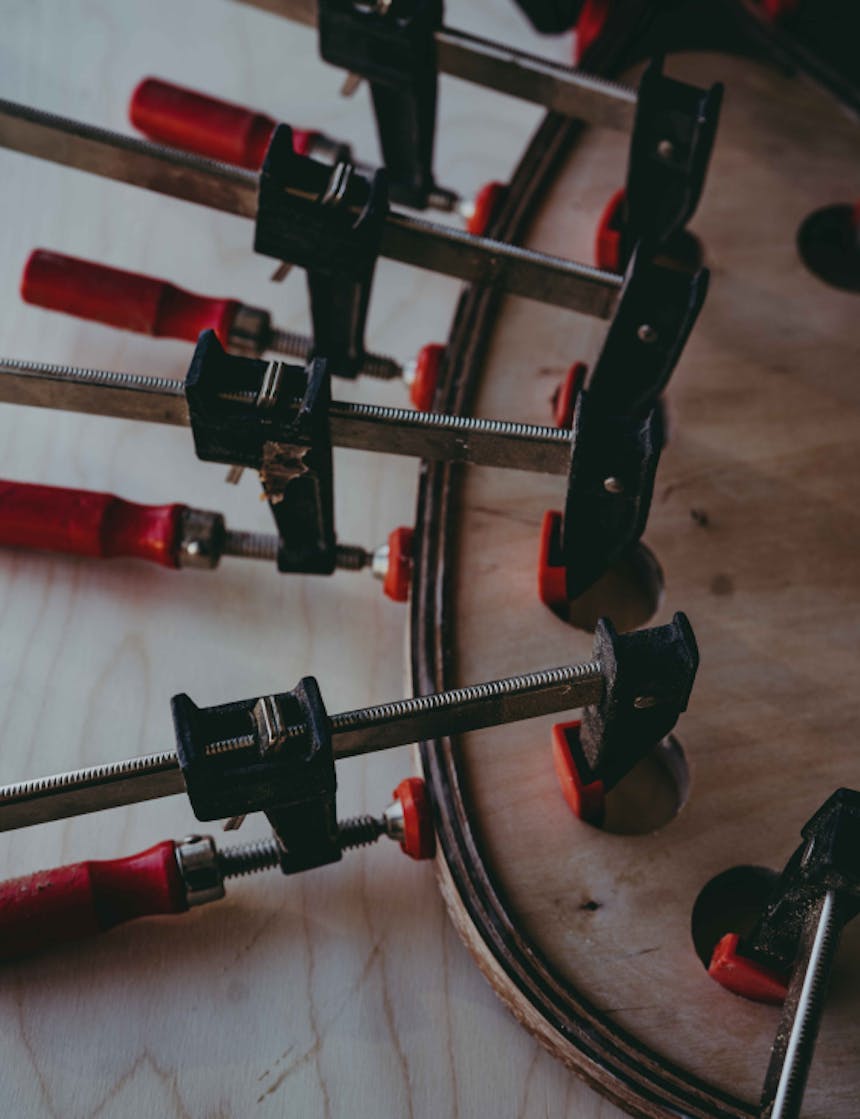
9. Starting at the top of the form, align the strips of wood leaving an equal amount of wood sticking out from either side. Then quickly clamp the strips of wood, starting at the top and working your way around the form. Be sure to clamp each alternately until you run out of holes at the handle end.
10. Apply glue to the handle spacer and fit it between the strips of wood at the handle end. Clamp across the strips of wood, so that they are drawn tight to the spacer.
11. Gluing up can be done by one person but goes much smoother if there are two.
12. If needed, tap the strips of wood and the spacer flat to the form.
13. Leave the glued-up dipnet clamped in the form for 24 hours, so that the glue has time to fully cure.
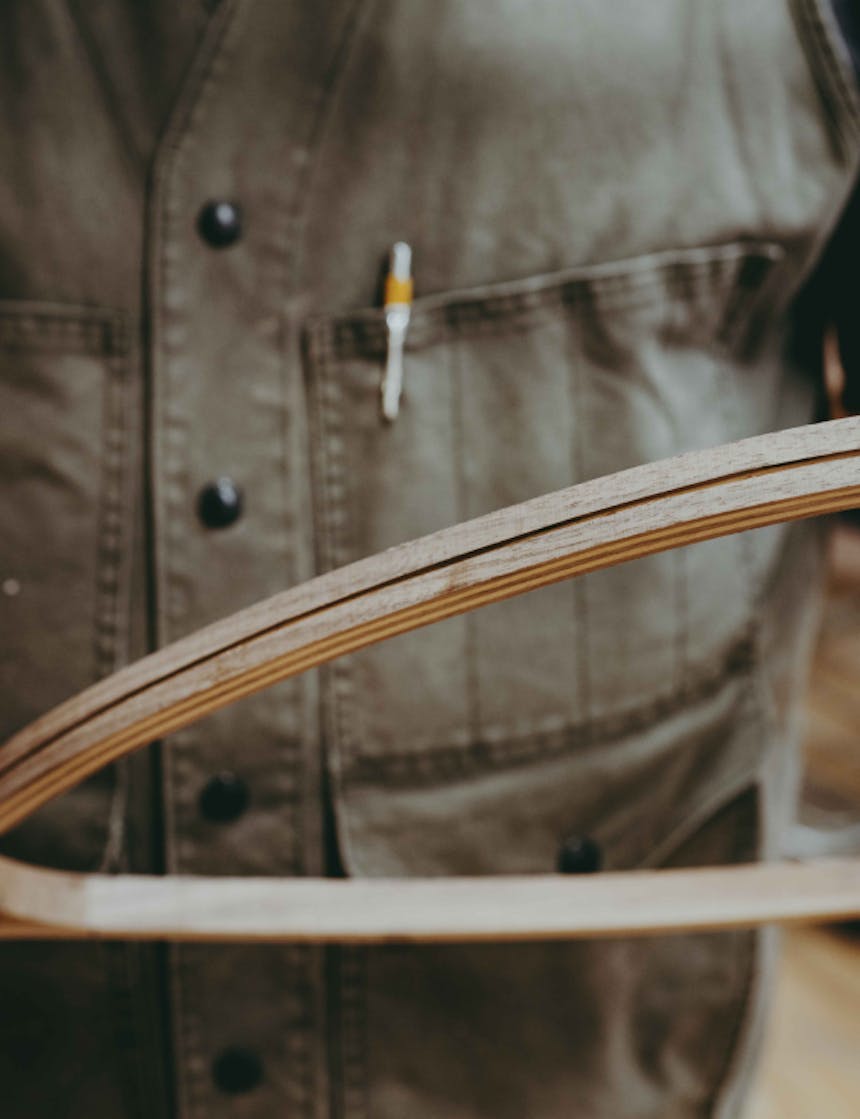
13. After the glue has cured, remove the clamps, and tap the net frame off the form. Trim off extra wood from the handle and sand
14. Using a freshly sharpened hand plane, proceed to flatten both faces of the frame. Sand down edges to your preference.
1 of 5
2 of 5
3 of 5
4 of 5
5 of 5
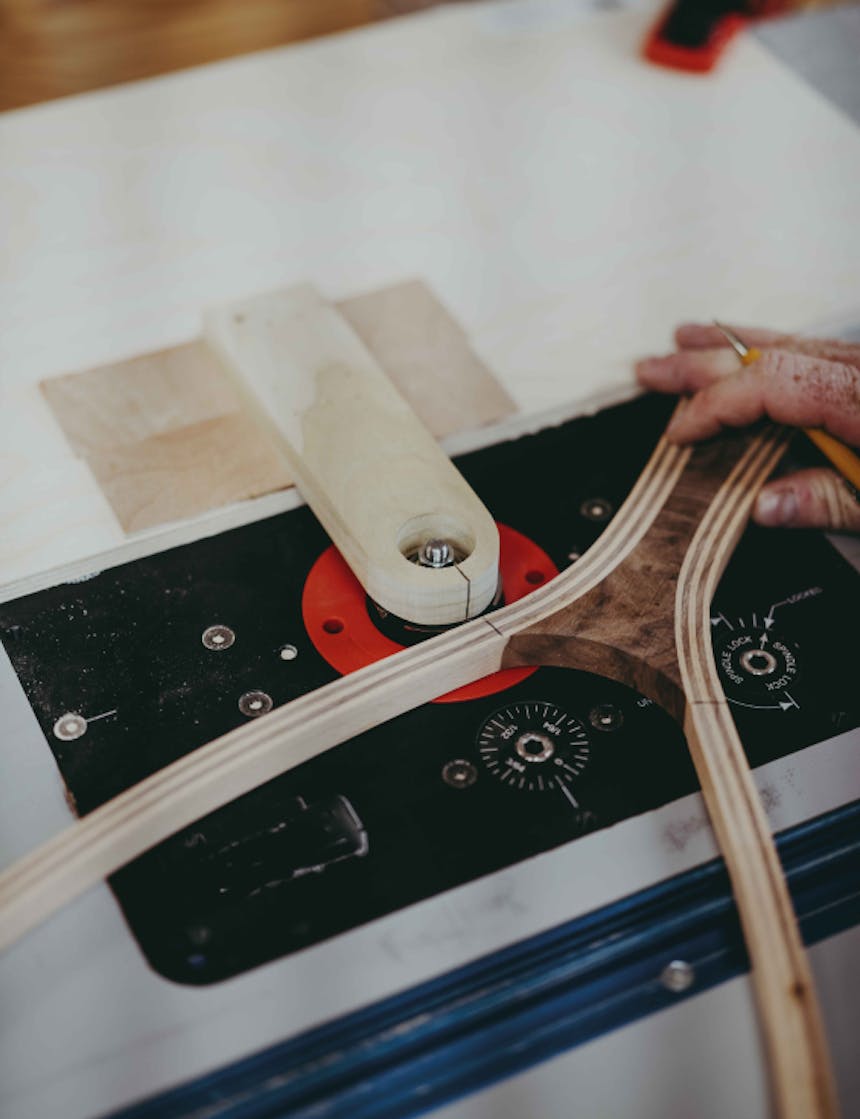
15. Next, route a groove around the outside edge of the hoop of the frame. To do this, place a pencil mark on each side where the hoop meets the handle spacer. To make the groove, I used a 1/16 slot cutter and a router table. Start at one of the marks and cut around the outside of the hoop until you reach the other mark. You could also make the groove by hand using a V-gouge carving chisel or a traditional scratch stock.
16. Use blue painter’s masking tape to tape around the outside of the hoop. Transfer the start and stop marks to the painter’s tape and remove it from the frame. Carefully lay it flat, sticky side down, on a clean surface. Measure the distance from one mark to the other and write the number down.
17. Count the number of loops around the top edge of the net you have chosen to use. Each loop should be attached the hoop. Divide the number written down (in step 17) by one less than the number of hoops. The net I have chosen has 14 loops around the top edge, so I divided the length by 13. This will give me 13 spaces and 14 points at which to drill the holes that are used to attach the net to the frame. Therefore, if the distance is 36-3/4”, you get this: 36.75 / 13 = 2.8269 or 2-13/16” between each tick mark.
18. As most tape measures and rulers are divided in 1/16” increments, I’ve rounded 2.8269 down to 2-13/16 to accommodate them. Always round up or down to the closest fraction number available.
19. Starting with one of the tick marks taken from the frame, place ticks along the tape at the interval determined in step 18.
20. Note that the tick marks transferred from the frame count as the first and last tick marks.
21. Carefully replace the tick-marked tape around the outside edge of the hoop being sure that it aligns with the tick marks on the hoop handle.
22. Using a 1/16” drill bit, drill twin holes perpendicular to the groove that correspond to the tick marks on the tape. The holes may need to be enlarged to suit the cord you are using to secure the net to the hoop.
1 of 4
2 of 4
3 of 4
4 of 4
23. If you wish, you can round over the edges of the frame with a 1/4” or 5/16” round over bit and a router. Otherwise, using good sandpaper, sand the entire frame to 320 grit. Be sure all the hard edges of the frame have been sanded and rounded over so they have a small radius, and the frame feels glossy smooth.
1 of 3
2 of 3
3 of 3
24. Apply multiple coats of a waterproof finish to the frame. I used Daly’s SeaFin Marine Finish.
1 of 1
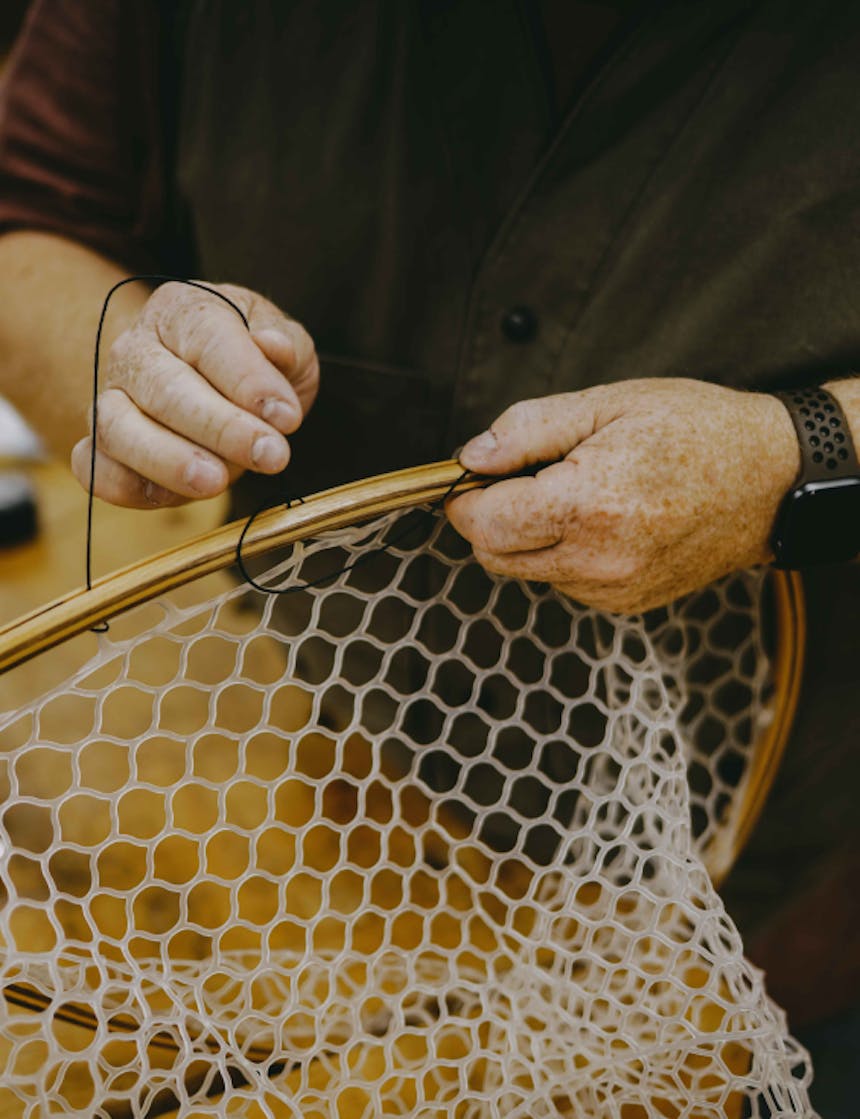
25. Once the finish has cured, attach the net to the frame using a waterproof twine by looping it through the holes in the hoop around the net and back through the hole. Repeat this all the way around the hoop. Make sure the twine is tight, then tie a knot in each end and melt the twine slightly so the knot will not come undone. Be careful not to scorch the finish on the frame.
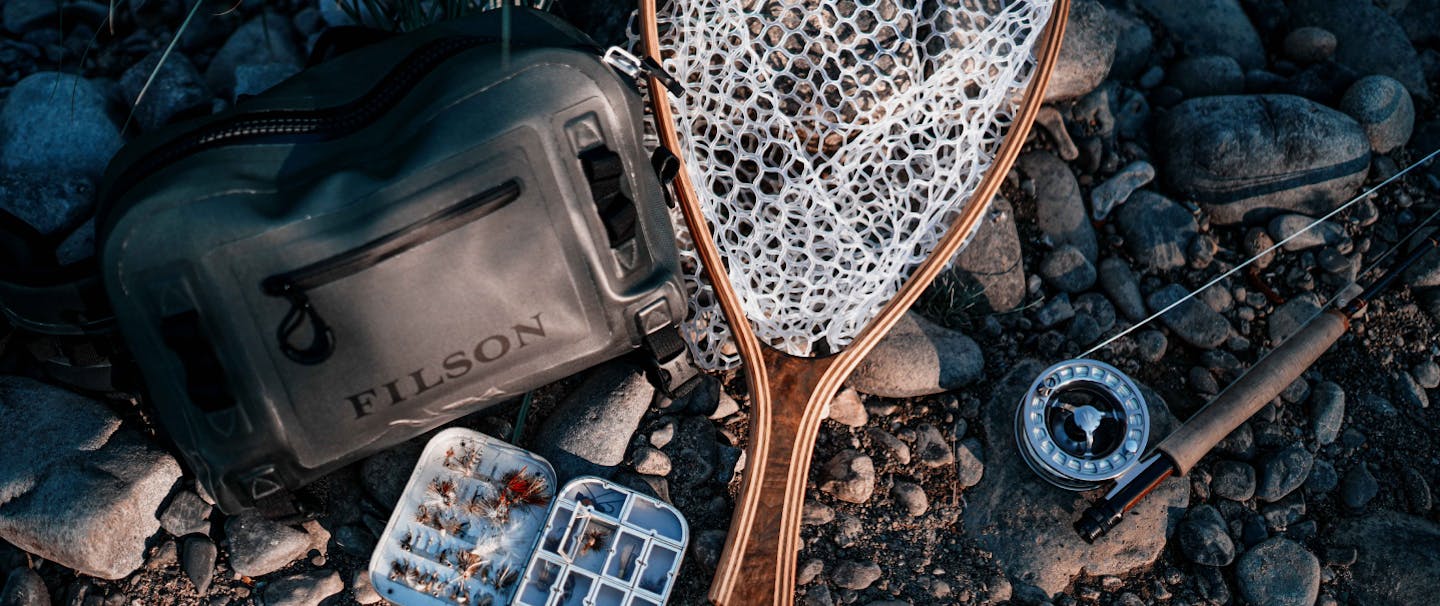
Grab the rest of your gear and head for the river!