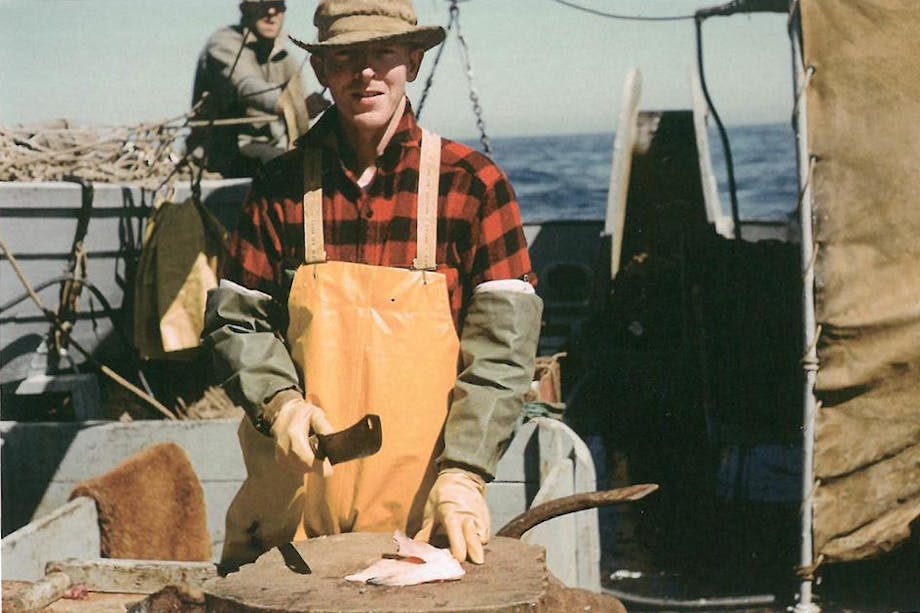
You hear a sound you shouldn’t. Standing at the helm, getting a good look forward is tricky through rigging, mast, and mainsail. But that long ripping sound was not a good sign. Your crewmate below can hear the sail flogging and she pops her head up out of the hatch: “Need a hand?” While she takes the helm, you scramble forward to assess the damage. Your task now is to stabilize the situation before it worsens.
Crouching just aft of the mast, you see a large tear, maybe two feet, in the trailing edge of your staysail, near the foot. This is the oldest sail of your suit, and that knowledge has made you more prepared than you might otherwise have been on this trip. You have brought a light sail repair kit with a few extra supplies. A weeklong winter cruise to the San Juans can be breezy, and you tucked in your first reef hours ago.
Dropping the hanked-on staysail, you roughly flake the mass and tuck the hardware from the head, tack, and clew into the middle of the sailcloth so they don’t smack you as you carry it down below. You tuck a second reef into your main to help balance the helm. Your crew reminds you to get the storm staysail handy.
1 of 3
2 of 3
3 of 3
There are steps you can take to be a self-sufficient sailor with regard to your sails.

First, know your sails.
How old are they? What kind of wear and tear do they have?
Inspect your sails often. Yes, that means dropping down your roller furling genoa and looking it over. Look for spots of chafe, especially along the luff of your sail, and familiarize yourself with the three corners: the head, tack, and clew.
Are they sun-damaged?
If you see anything suspicious, investigate further. The places that take the most load are the weakest areas—pay special attention to them. Make sure sharp edges on the boat, such as the end of your spreaders, are leathered to protect the sails.
Have fun, but sail conservatively. Make up scenarios and talk them over with your crew. Become efficient; it is easier to do something in rough weather if you have already practiced in calm weather. Practice reefing. Practice short-tacking. Practice only makes you a better sailor.
Second, stock up on repair materials and know how to use them.
If you have a way to jury rig a repair on your sail, you are more likely to stay out longer and enjoy your cruise knowing you can fix minor problems. Assemble a repair kit containing sticky Dacron fabric, a few needles, waxed hand-sewing thread and a palm, an extra stainless-steel ring, scissors, a lighter, extra webbing, and an extra mainsail slide or two that fit your mainsail track.
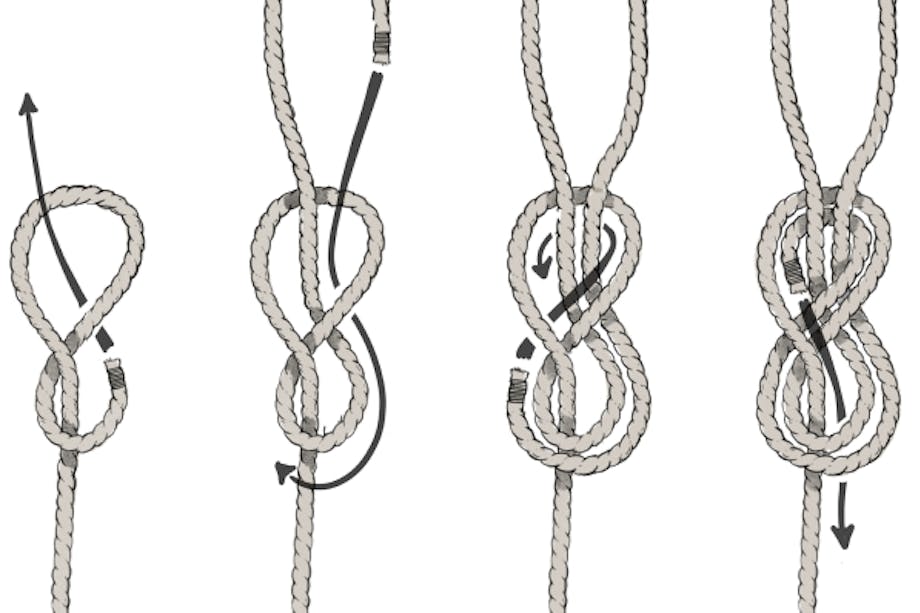
Learn your knots.
How-to books like The Sailmaker’s Apprentice by Emiliano Marino or The Rigger’s Apprentice by Brion Toss are invaluable resources to have on board.
Third, get to know your local sailmaker.
There are large sail lofts in most major coastal cities, but there are also small sail lofts scattered everywhere.

Often, smaller lofts are more flexible. They may be willing to come in on a Sunday and repair that two-foot tear. While they do, maybe they know a great local restaurant, or a beautiful hike. Ask if they will look over your whole sail while it is in the shop. A set of expert eyes may catch something you missed.
Remember that sailmaking and sail repair can take some time and expense: respect that. No small sailmaker is in it for the money—it’s a matter of dedication and passion for the craft.
Your local sailmaker may even teach a sail repair class. Take the class—need I say more?
***
You and your crew enjoy the last hour of your trip north. You tuck into a small, quiet cove for the night. The anchor is fast, the mainsail and genoa are tucked away, and the wind is dying as the sun sets.
Your mate fixes dinner while you pull out that torn staysail. Finding the tear, it looks like part of the sail snagged on something sharp, which punctured through the cloth then tore all the way through the leech of your sail, exposing your leech line. The first thing you do is look for what caught the sail. A piece of sharp wire end on the starboard lifeline seems to have done the damage. You trim it and wrap it in electrical tape. Back below, you lay the tear flat on the cabin sole and stretch the sail so the torn edges meet. The key to this repair is to patch the tear without making the patch stronger than the sail itself.
Sail fabric and its stitching have a certain amount of integrity. Older fabric will have less overall integrity and tends to rip along stitch lines, creases, or areas of chafe. In this instance, you want to boost the integrity of the fabric by using additional layers of Dacron, and stitch minimally.
MAKING THE REPAIR
With this in mind, you stick a strip of the sticky Dacron fabric on both sides, sandwiching the damage in between the two layers. You curl another longer piece over the edge of the sail, pinning the leech line back in place. Then, with your palm and needle, you stitch the folded, or tabled, edge of the sail. You mimic the stitching pattern of the hem already there, zigging one way then zagging back. This will stabilize the tear and ensure that the leech line is functional and secure.
Your repair is far from elegant, but it does the job nicely—and because you have resisted stitching as much as possible, the sail loft you bring your sail to after your week’s cruise is impressed.
Your stitching held well, and would have held much longer, and you didn’t puncture the sail any more than necessary with your needle. Well done.
1 of 5
2 of 5
3 of 5
4 of 5
5 of 5
“REMEMBER THAT SAILMAKING, AND SAIL REPAIR
CAN TAKE SOME TIME AND EXPENSE: RESPECT THAT.
NO SMALL SAILMAKER IS IN IT FOR THE MONEY—IT’S
A MATTER OF DEDICATION AND PASSION
FOR THE CRAFT.”
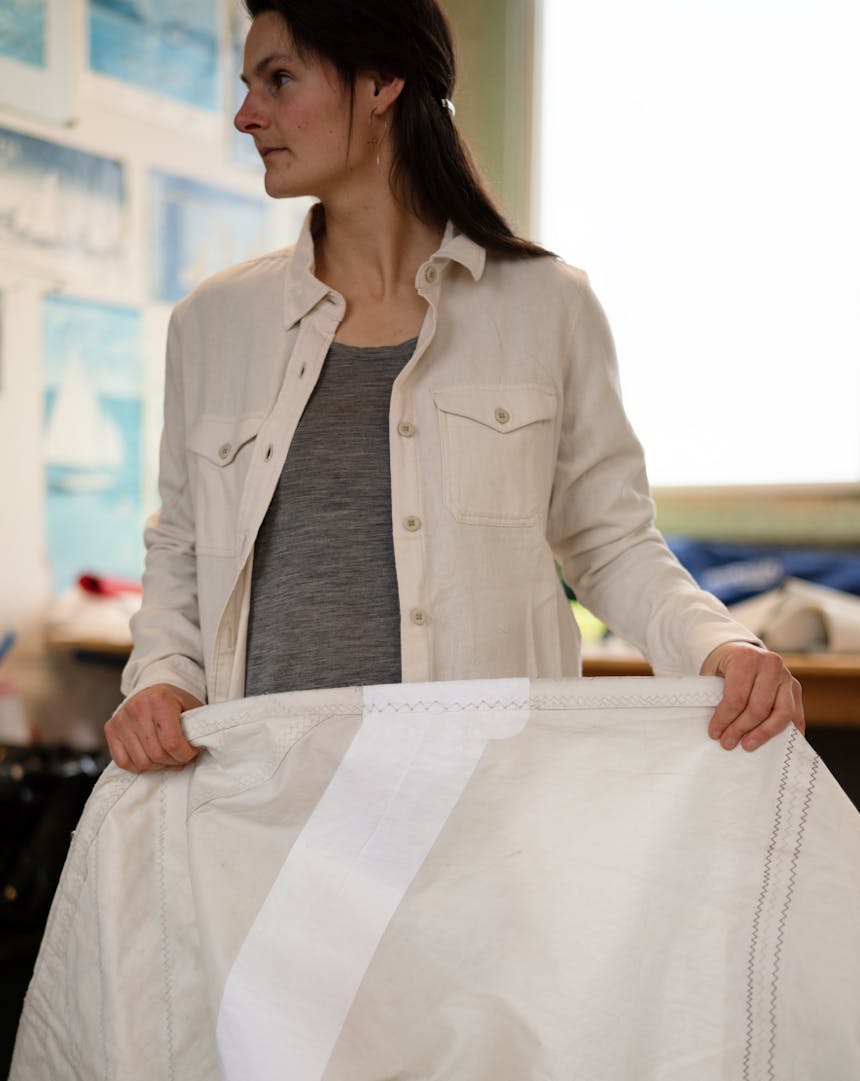
Erica Georgaklis of Hasse & Company Port Townsend Sails holds up a mended sail in her workshop.