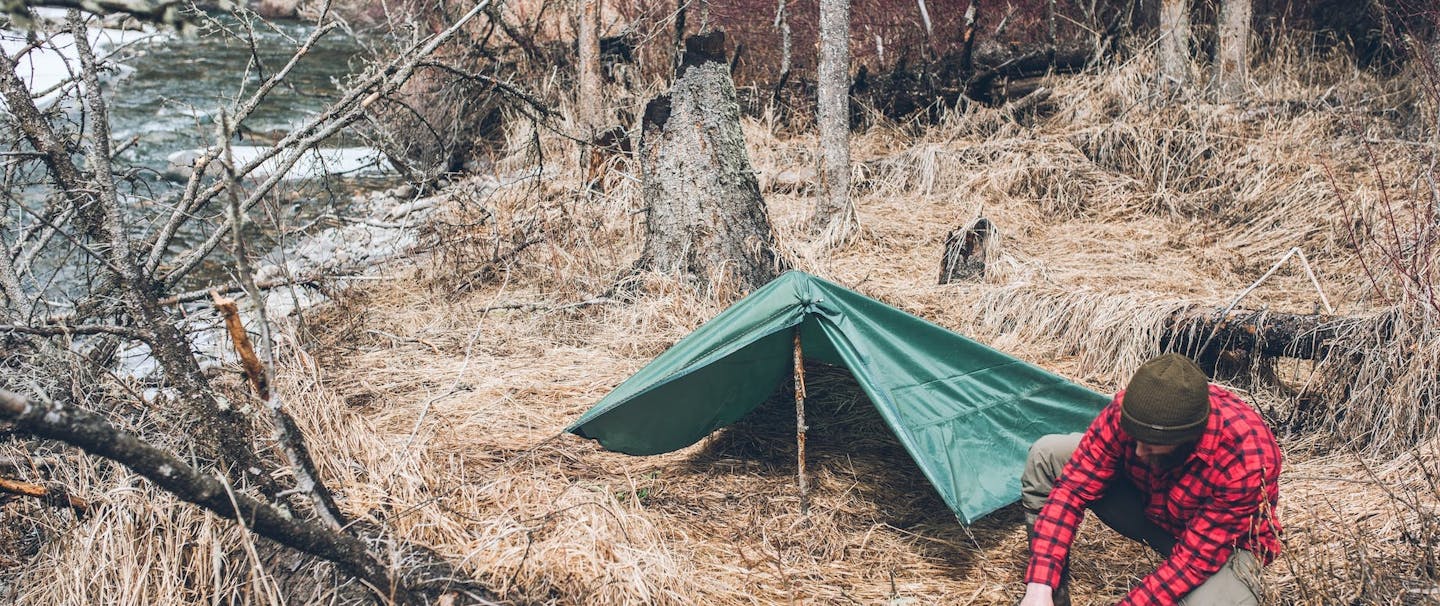
With a simple tarp and a few lengths of 550 cord, you can make a quick shelter to ride out a storm should the weather turn bad on your next trip into the woods. Alaskan sheep guide Casey Barton shows us how.
Step 1: Select your site and gather a few sticks. You will want four stout stakes 4 to 6″ in length, one for each corner and one longer ridge post to prop up the opening, roughly 36″ in length.
Step 2: Lay out your tarp flat on the ground to get an idea for the footprint and space you need. Move any brush in the way if needed.

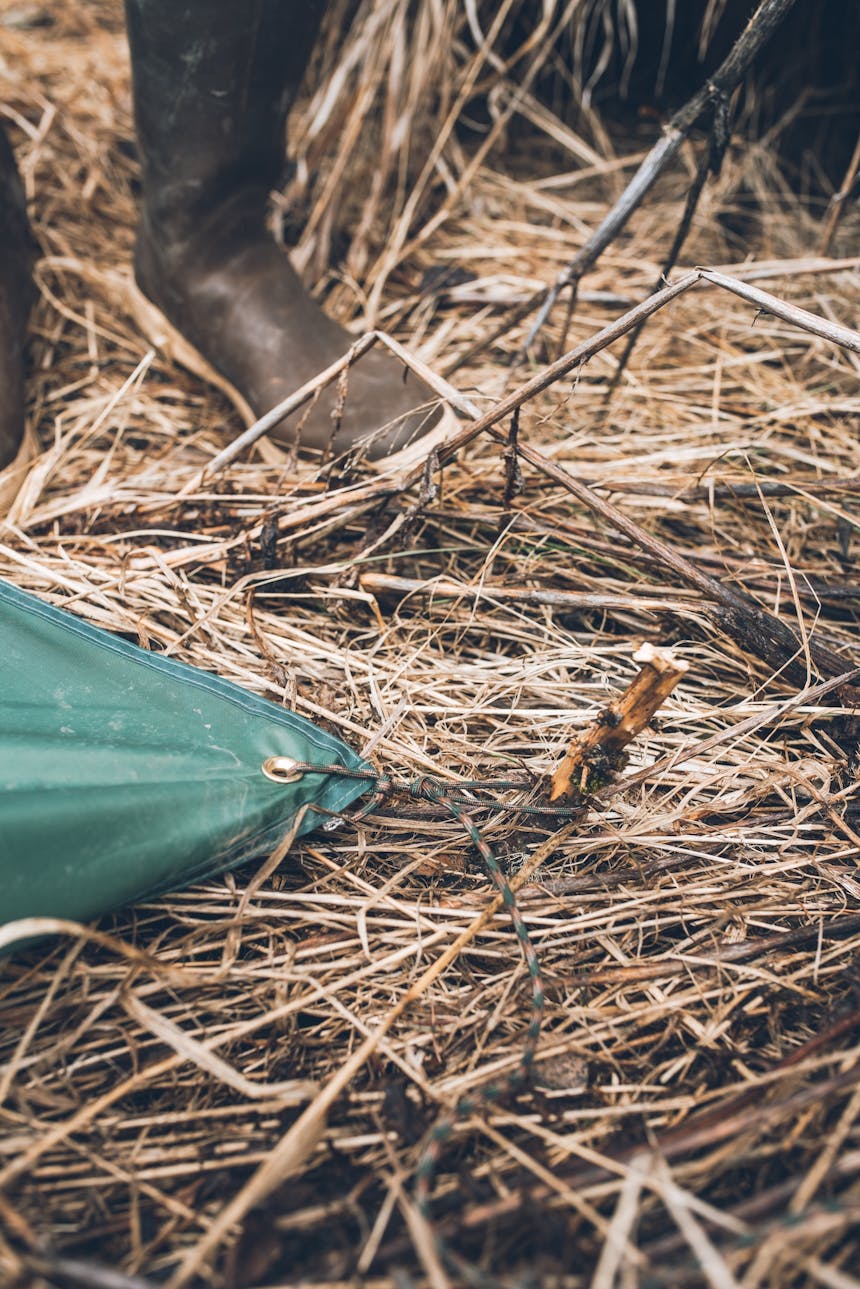
Step 3: Starting with the two rear corners, tie a short length of paracord through the eyelets of the tarp. Then, take a rock and drive a stake into the ground to serve as tie down points for each corner. Space them out such that the tarp is taut between the stakes.
Step 4: Drive the longer ridge stake into the ground at the opposite end of the tarp near the center. Wrap grass around the end to prevent any contact between the tarp and the sharp end of the stake.
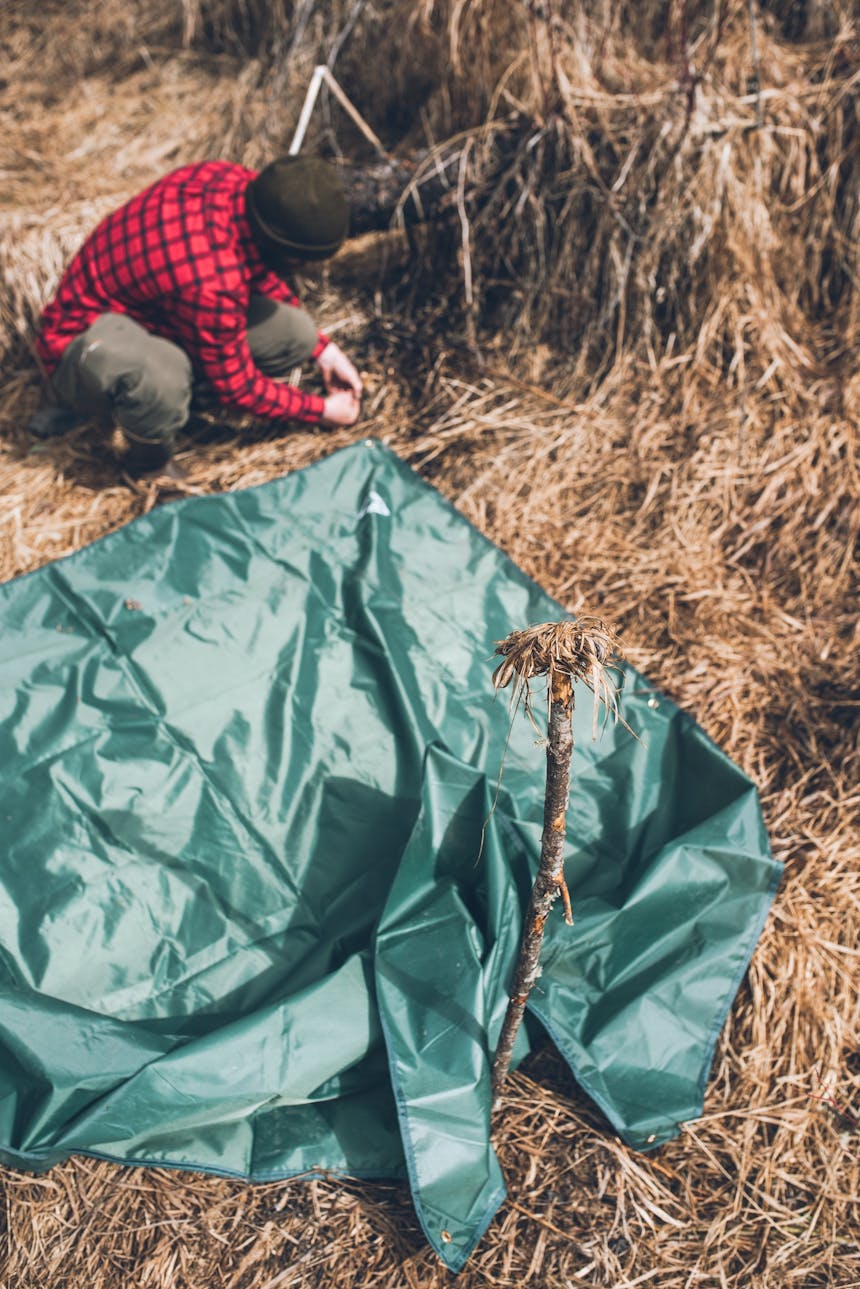


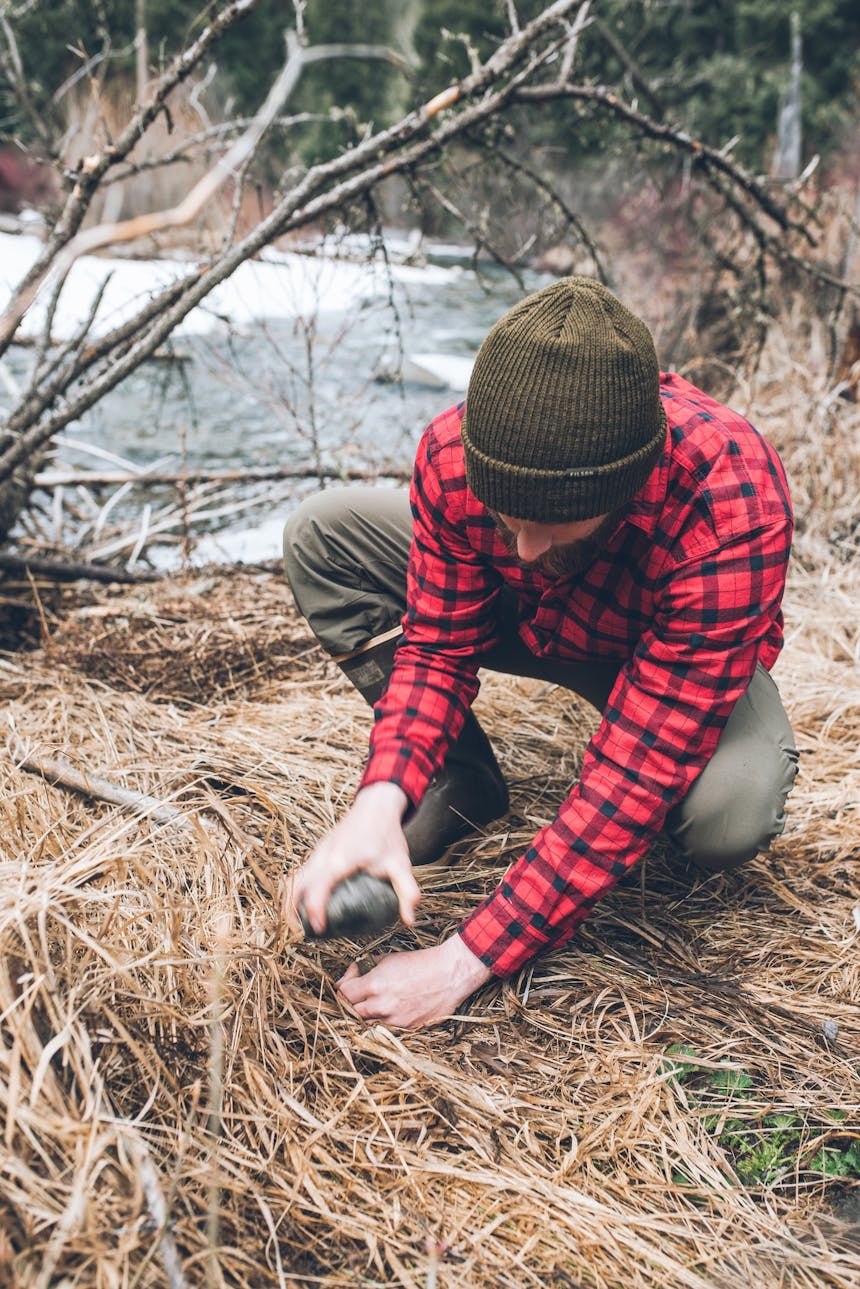
Step 5: Find a small, round rock and place it in the center of the tarp’s edge. Tuck it into a pouch within the tarp and tie a loop of paracord around the rock. This will act as the main stabilizing line over the ridge post at the “opening” of the shelter. Tie this off to a nearby tree.
Step 6: Place stakes at the front two corners, repeating Step 3.
Step 7: Adjust any of the cordage as needed to try to remove any slack from the tarp. After this, hunker down, fire up the stove, and be thankful for staying dry!