“My family comes from a proud tradition of loggers and woodworkers. My great-grandfather left his home in Norway and emigrated to Washington to work as a logger. My grandfather followed in his footsteps to work in the lumber industry, and my father has worked with wood for as long as I can remember. When my wife asked me to make some raised garden beds with her, I saw this as an opportunity to tap into my roots, expand my DIY skillset, and explore milling my own lumber with my chainsaw. If you have your own saw and a few standard tools, you can get started for a few hundred bucks.”
– Bjorn Amundsen

Loggers in the Pacific Northwest.
What’s the difference between a Logosol Timberjig and an Alaskan style mill?
There are a few different styles of chainsaw mills, the most popular being the Alaskan Mill by Granberg. It’s a great tool for slabbing up logs for furniture and getting the most yield out of the first stage of milling, and it’s a product I’d really like to try someday. I’m using a product called the Timberjig, from a company called Logosol. It’s designed more for turning the logs into boards rather than slabs, and I chose this product because of what I’m planning to do with the wood. They also offer a lot more options for more sophisticated systems you can upgrade to overtime.


You’ll need a few tools to get started:
• Chainsaw mill from Timberjig (or another brand)
• Chainsaw: Ideally it should be 70cc or more, but I’m using my 455 Rancher with a 20” bar. This lets me do logs about 14” wide, including the depth taken up by the mill and any sweep or crook in the log.
• Ripping chain: Same as regular chain but makes a cleaner cut for milling. It’s filed to 10 degrees as opposed to 30 degrees, which is common for cross-cutting.
• Jig and rails: Timberjig comes with a basic plan and brackets, but you’ll have to supply your own lumber. I added a few extra supports to mine to prevent the wood from flexing. I also use ground supports to keep my cuts as straight as possible. You can make your cuts as long as your rail is.
• Measuring tape
• Pencil or marker
• Level
• Drill: This is used to attach the jig to the log.
• Screws and washers: Since you’ll be fastening these a lot, I’d recommend a star drive so they don’t strip.
• Extra fuel: You’ll use a lot more than you do for cross-cutting. My saw’s tank is usually drained after one or two cuts.
• Bar oil: The same applies here.
• Chainsaw file
• Wedges: These will help keep your cuts straighter by keeping the pressure off your bar.
• Personal protection equipment

PICKING YOUR LOG
Any log will work, but you’ll get the most yield from a straight log with no crooks or sweep.
You can choose to fell a tree or use one that’s already on the ground. Cutting wood that’s green, especially softwoods, will take the least amount of time. You can’t always judge the quality of the log from the outside; even wood that has defects on the outside can have totally usable heartwood. Just do a test cut to check for rot or other defects. Logs that have been lying outside for a while, particularly hardwood, will take longer and require more fuel and more frequent sharpening. I’m cutting mostly oak and ash, and I’m refueling after every cut on logs that are 10’ x 14” and sharpening after every third cut. The mill itself will reduce the maximum cutting capacity, so you won’t be able to mill logs that are the same as your maximum bar length. Whether it’s green wood or a log that’s been sitting around, before you do your cuts, I’d recommend sealing the ends with latex paint or wood sealer to prevent cracking.

Examples of straight logs. Photo from the U.S. National Archives. Original Caption reads, “Loading fire-killed logs from the Willame Creek area, Gifford Ponchot National Forest, Washington."
1 of 1
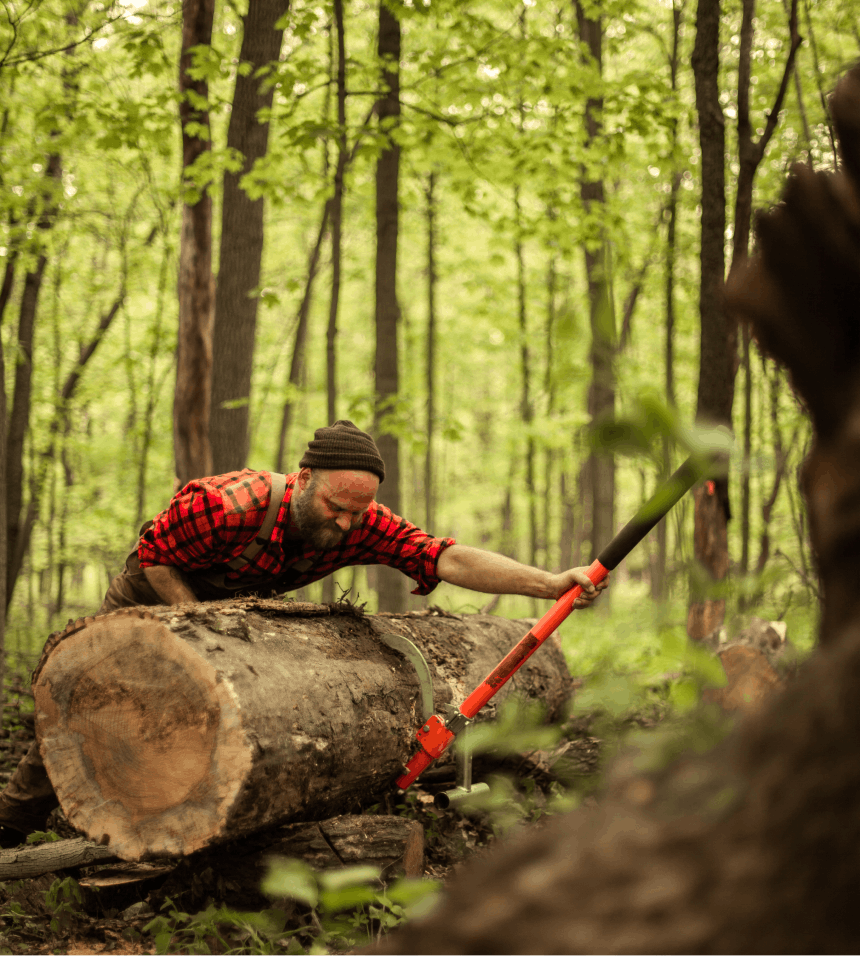
Setting up your first cut
The first thing to do is to get your log off the ground. The easiest way is with a cant hook, but if you don’t have one, you can use a large tree branch and some smaller support logs. I usually cut a few smaller logs with notches in them. Cut them long enough to provide stability, but short enough that they don’t bog down your saw when you’re cutting at an angle.
When you’re prepping your log to be milled, try to cut it right after any crooks or crotches, or in the middle of sweeps. This will help you get the most yield out of your wood. Make sure that both ends are nice and square so that your jig hooks up to it nicely. I like to cut off the side with the most defects first, so the rest of the work is easier.
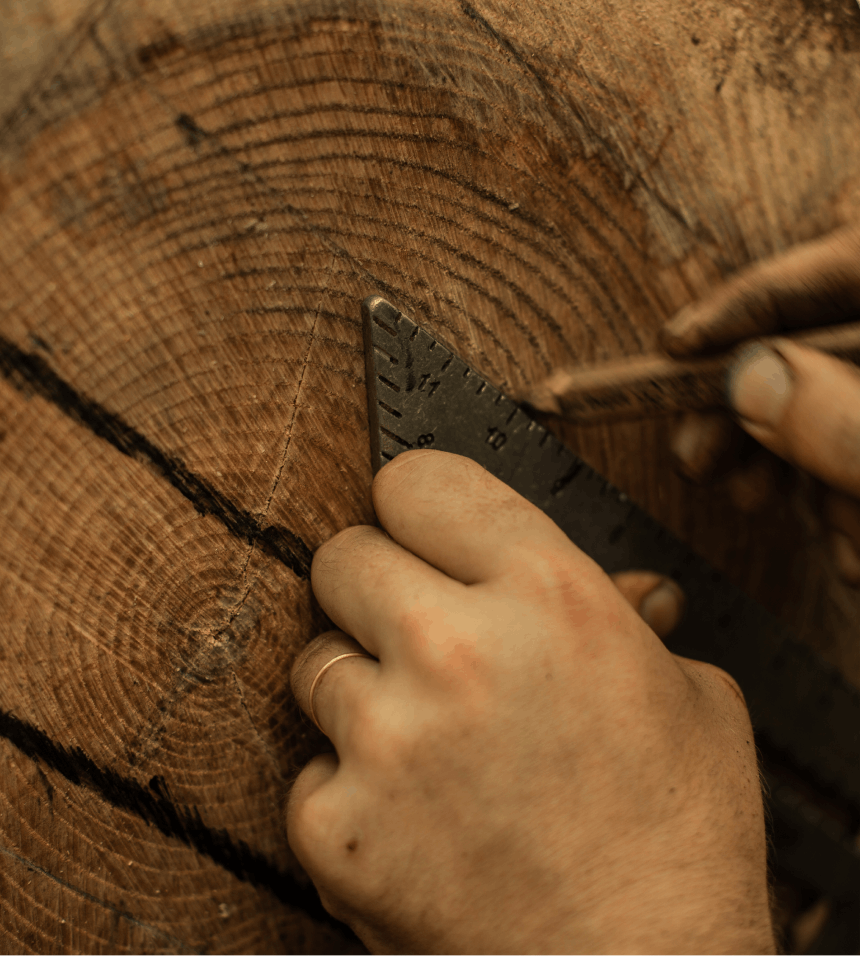
You’ll want to make sure your measurements are based on the thinner end of the log. I use a level and speed square to define the inner rectangular part of the log I’ll be milling and do this on both sides.
Cut each board longer, wider, and thicker than your desired final dimensions, so you have some wiggle room to do any additional finishing to them. Remember that the kerf itself can take as much as a quarter-inch off each cut. I set it up perpendicular to the ground and then rotate the log to 45 degrees. This keeps the mill seated securely in the jig, takes the pressure off the bar, and allows the board to slide off at the end of the cut.

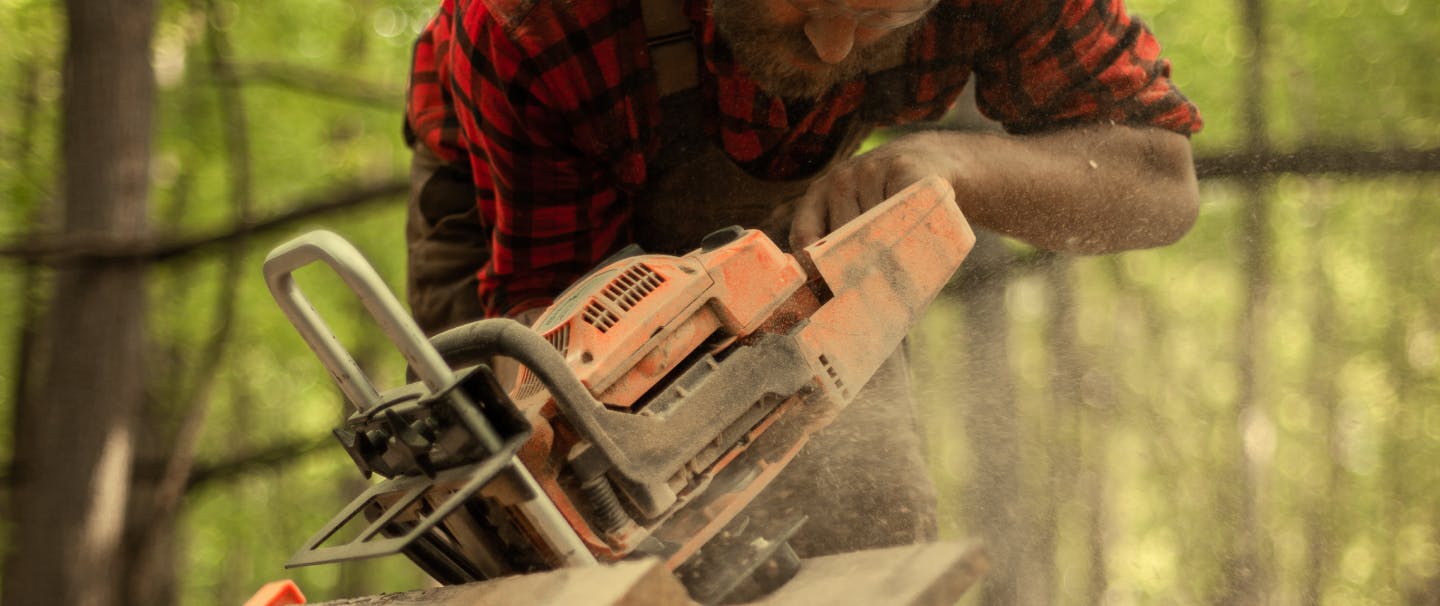
Making your first cut
Once you get the saw on your rail, lean into the saw with your body weight, holding the handle with your dominant hand and the trigger with your other hand. To keep your cuts straight, pay attention to how much downward pressure you’re putting on the powerhead of the saw: you don’t want it to come up off the rail, which will create a downward angle on the bar. You’ll also want to use a wedge or two in the kerf to keep pressure off the bar. Take your time, and don’t let your saw get bogged down.
Make sure you stack and sticker your boards, so they can dry properly. Any boards you cut that aren’t perfectly flat can easily be fixed by using a router sled and going over the top of the wood. There are tons of resources online that go into a lot more detail about all this stuff. Get outside, make some lumber, and have fun!
1 of 4
2 of 4
3 of 4
4 of 4