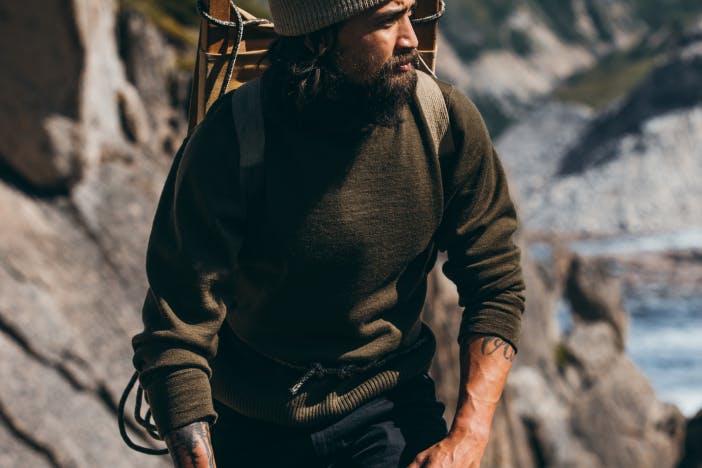
North House Folk School was founded by a small handful of inspired locals passionate about traditional craft and cooperative learning. While at first the school didn’t have a home, two old Forest Service buildings on the harbor of Grand Marais serendipitously became available–North House soon settled in and began building a campus. Over the years, the school and community have thrived, now hosting over 350 classes, and 3,000 students annually.
This article was provided by Ian Andrus, instructor at North House Folk School
"THE JOURNEY OF MAKING YOUR OWN
SKIS BEGINS WITH A TREE."
“Where and at what point you begin your engagement with it depends on what resources you have available. Ideally, the relationship begins in the forest, where you can see the tree, meet the tree, understand where it is growing and how healthy it is. If you can’t access a woodlot, then the next best source would be a logger or a sawmill operator.
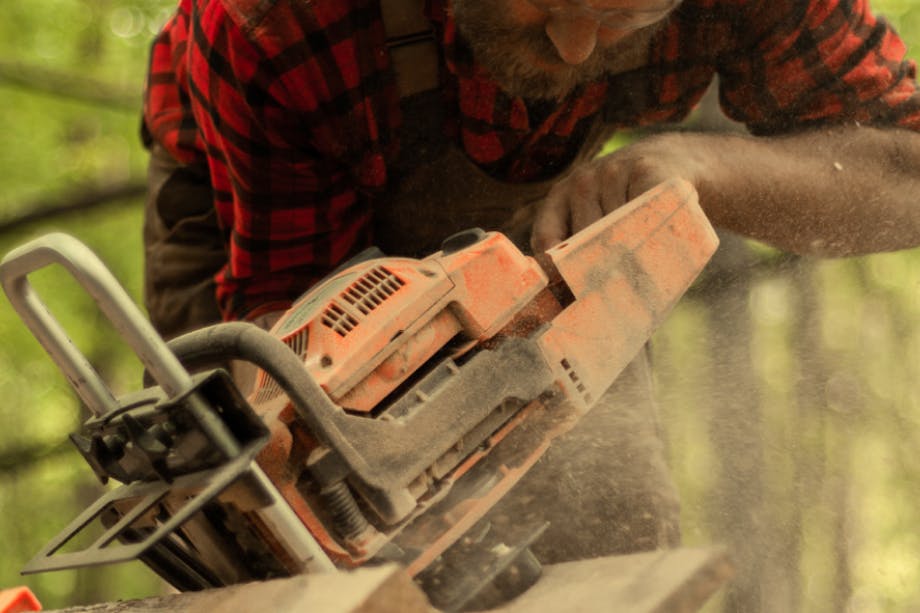
The type of tree you seek depends on which species live near you; traditionally, skis were made out of what was available. Here in Northern Minnesota, we prefer to use birch. It is a light, flexible wood that carves easily and bends reliably well. The tree you are seeking (or board) is straight as an arrow, with no knots, and is in good health. I typically begin by purchasing logs of ideal quality and bring them to a sawmill and instruct the operator on how I want the boards cut.”
1 of 1

• Two wooden boards cut to length (wood needs to be flexible but durable, such as birch)
• Straight edge
• Pencil
• Tape measure
• Cutting tool (i.e. saw, axe, drawknife)
• Shim
• Large water tank with a heating element
• Two strips of ¾” plywood
• Screws
• Pine tar or birch tar, and turpentine
• Bindings, or leather straps
• Clamps
• Spokeshave
• Woodblocks
• Brush to apply finish
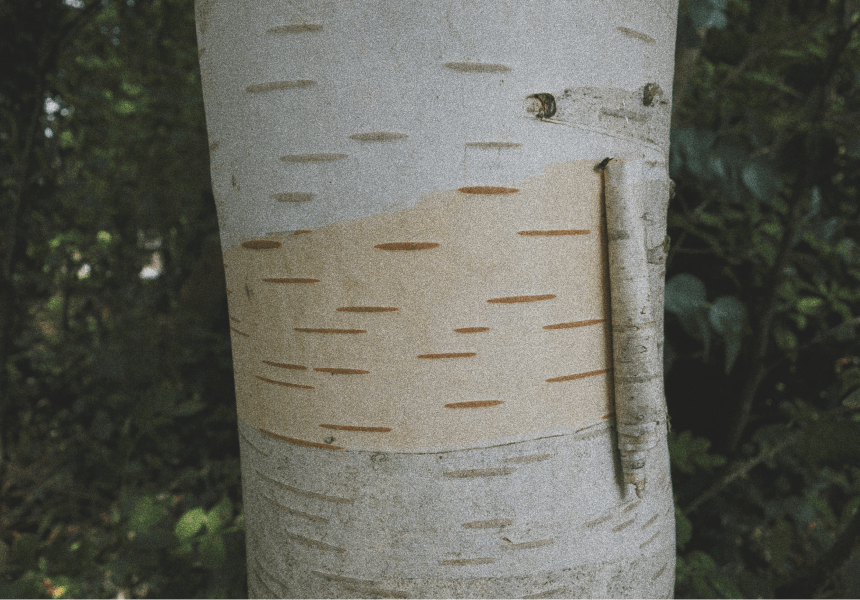
Birch is a light, flexible wood that carves easily and bends reliably well.

1. Each ski is centered on a board, so, for a pair, you need two boards. Ideally, these boards are a pair taken from the same side of a tree, so that their properties are similar, and they will be a better match.
2. With the two boards selected, mark the center of the tree (not the center of the board) at each end. Measure to either side of these marks to lay out the width of the ski, half the width measured to each side of the center mark.
3. Use a straight edge to connect these marks and define the ski on the board. Everything outside of the lines is removed, using a saw or axe.
4. Once your boards are down to the proper width, you need to cut them to length. Typically, I use an average backcountry ski sizing chart to come up with lengths. Most traditional skis from Scandinavia had some sort of decorative and functional tip extension, mostly to keep the tip above the snow but also to add decorative flare. If this is desired, I will add an additional 3” to the length to accommodate.
5. The thickness of your ski may vary, depending on width and binding choice. The wider the ski, the thinner it can be. If I’m doing a pair that will have a traditional leather strap that runs through a slot cut in the ski, I will make the ski thicker than I would if I were doing a modern top mount binding. For a pair of track skis with a leather binding, I would plane down to ⅞” thickness with top mount maybe down to ¾”; a 4” wide pair may be down to ⅝”.
6. Once all the dimensions are achieved, it is time to give the ski some shape by cutting out material from the top of the ski to give it taper from the foot bed to the tips and tails. I do this by clamping one board down to a bench; then I use a ¼”- 5/16” thick x ¾” straight wood batten to help create the shape. The batten is laid along the edge of the ski blank and shimmed up at the center to match the height of the ski’s thickness. I then drive a screw through the batten into the bench at the tip and tails, at about the point where they will bend.
7. For the tip, it is usually 10”- 12” from end and 5”- 6” from the tails. I then slide a shim in under the ends of the batten to increase the thickness at the very ends, both for durability and to allow a decorative tip carving, if desired.
8. The other ski blank is then laid next to the batten on the other side and clamped down well, also. Using a pencil, trace lines on the edges of both blanks along the batten, then swap the skis around so you have a line on both sides. The material above these lines will be cut away, using a saw, axe, draw knife, etc.
9. Once the bulk of the material is removed, move to a more precise tool, such as a spoke shave, to bring the wood down to the lines, making sure there is a flat plane between the top edges. Depending on the width and thickness of the ski, some wood is removed along the top edges, to reduce the weight of the ski. Measure up from the bottom edge the same thickness as your batten–5/16” or so–and continue this line along the entire edge of the ski on both sides. This line is your “do not cross” line. If you make the edges any thinner, they will be weak and likely to break.
10. Next you want to lay out a spine on the top of your ski to maintain strength and some stiffness The width of this spine depends on the weight of the skier and the thickness of the ski. Lines are drawn on top of the skis to create the edges of the spine. Then, using a drawknife or spokeshave, remove the material between the lines defining the spine and the lines defining the edge thickness, to create a sort of rolling bevel. The bevels begin fore and aft of the foot bed, which is from the mid-point of the ski back, or however long your boots are.
1 of 1
10. Next you want to lay out a spine on the top of your ski to maintain strength and some stiffness The width of this spine depends on the weight of the skier and the thickness of the ski. Lines are drawn on top of the skis to create the edges of the spine. Then, using a drawknife or spokeshave, remove the material between the lines defining the spine and the lines defining the edge thickness, to create a sort of rolling bevel. The bevels begin fore and aft of the foot bed, which is from the mid-point of the ski back, or however long your boots are.
11. By rolling bevel, I mean it starts at a pretty steep angle near the foot bed, rolling out towards the ends until it is flat at the thinnest parts of the ski. The final shaping of the tips and tails (which reflects personal preferences and aesthetics) is all that remains before bending.
12. After all the shaping is done, the skis are ready to bend. There are multiple methods for heating and bending wood and you can choose whichever is most familiar or accessible to you. I use a large tank with a heating element in it. The skis are put into room temperature water for 24 hours and then heated for 6-8 hours; the tank is 8’ long and about 12” high and 12” wide. The water in the tank is not boiling, but hot enough that you don’t want to leave your hand in there for more than a few seconds.
13. A mold is made for the skis during this time; this will hold the skis in the shape we want them after heating. I use two strips of ¾” plywood with a curved wood block, screwed between at one end. At the front, a block is screwed in flush with where you expect your ski tips to be when you set them into the mold. This block needs to be above the rounded block with enough space for your ski tips to slide between. At the mid-point, a block is set 1 ½” down from the top edge of the plywood and screwed between the plywood pieces. At the tails, a narrow block is screwed in between the plywood at a point about 5” in from the edge of the tail, then a second, wider, block is set in even with the ends of the tails and set down from the top edge of the plywood ¾”.
14. Once the skis have heated sufficiently, they are removed from the tank and, as quickly as possible, set into the mold. It is important that the skis be set into the mold squarely, so they don’t have any twist in them. Wood blocks are screwed down to the blocks in the mold to act as clamps holding the skis in place. You want to allow the skis to dry out completely before removing them from the molds.
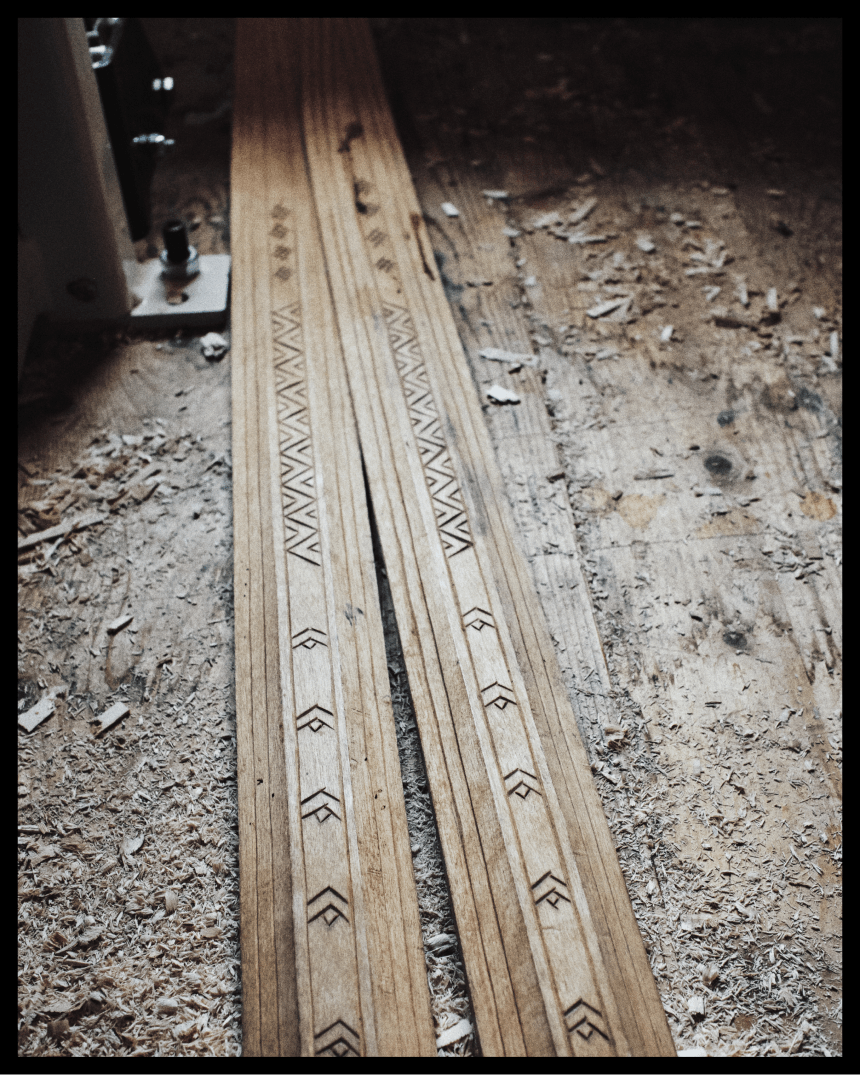
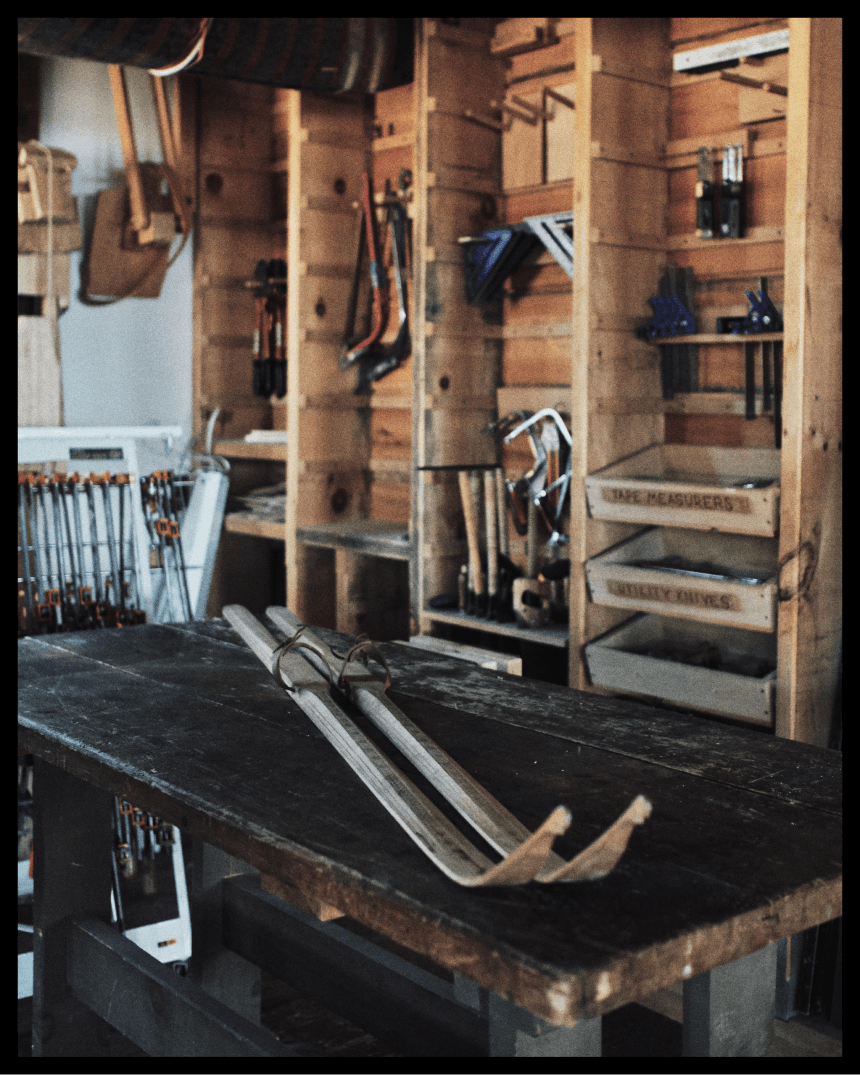
15. After the skis have been removed, the final step is to coat with a mixture of pine tar or birch tar and turpentine, which is heated in a double boiler to help it penetrate into the wood. It can also be helpful to warm the skis up prior to applying the finish.
Bindings
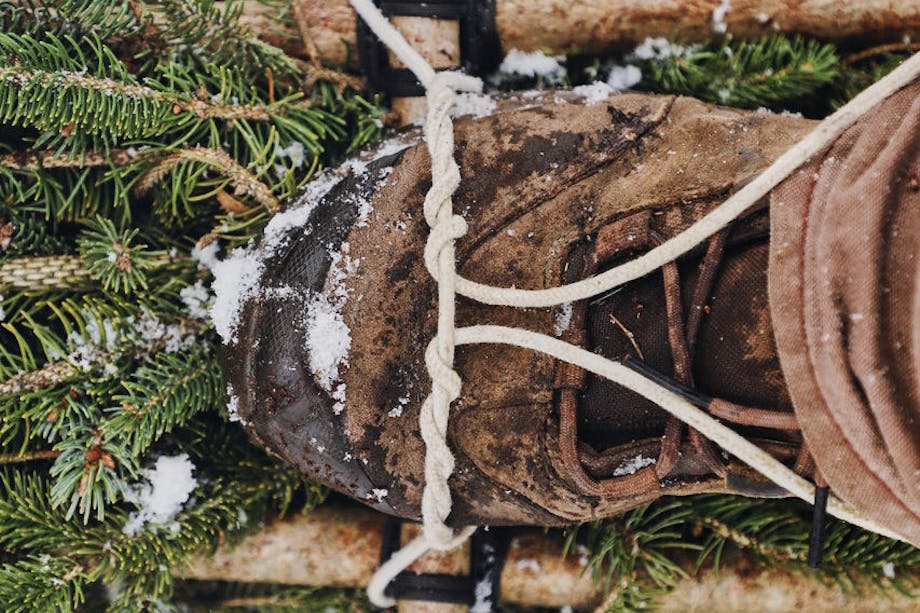
For real-world use, we recommend our students use modern cross-country ski bindings and boots. For decorative use, or in special cases, leather or vintage bindings may also be fastened depending on your personal preference.
![]()
1 of 1